eSign iOS: Download for iPhone & iPad – Sign IPAs
Installing external IPA files from unofficial sources on iOS devices can be challenging, strict security policies of Apple make it hard to install apps outside of the App Store. Even if you want to use an unofficial app store like Scarlet iOS on your iPhone or iPad, you must first install Esign. eSign iOS simplifies this process by digitally signing IPA files that enable users to install external apps without jailbreaking their devices.
This guide provides step-by-step instructions for downloading and installing eSign on iOS. It also includes troubleshooting tips for common errors, ensuring a smooth installation even on recent versions such as iOS 17 and iOS 18.3.
What is eSign?
eSign is a tool designed for several key purposes:
- Digitally Sign IPA Files: It uses Apple certificates and provisioning profiles to authenticate apps from unofficial sources.
- Enable Direct Installation: It allows you to install apps directly on your iPhone or iPad without needing a computer or jailbreaking your device.
- Assist Developers: Developers frequently use Esign for beta testing because it simplifies the app signing.
Note: This process involves third-party tools. For further details on how the security of Apple works with certificates and provisioning profiles, please refer to Apple’s official documentation.
Before You Begin
- Verify Your iOS Version: Ensure that your device is running a compatible version (e.g., iOS 17, iOS 18.3).
- Backup Your Device: Always backup your device before making any changes. Scarlet iOS also provides a backup feature that allows you to create and restore backups of essential apps and their settings.
- Understand the Risks: Installing unofficial apps can be risky because they come from repositories that may not enforce the same stringent security checks as the official Apple App Store. Proceed with the eSign download process only if you know these potential security implications.
- Check Your Tools: When downloading the eSign IPA file and related components, ensure you get them from reputable sources. Although the links below have been tested for functionality, always verify their legitimacy before proceeding.
What You Need to Know
Before you begin the eSign download and installation process, it’s important to understand key terms used in this guide, such as the Feather app, DNS, and RICEHUB DNS. This ensures you won’t be confused about their roles during the setup.
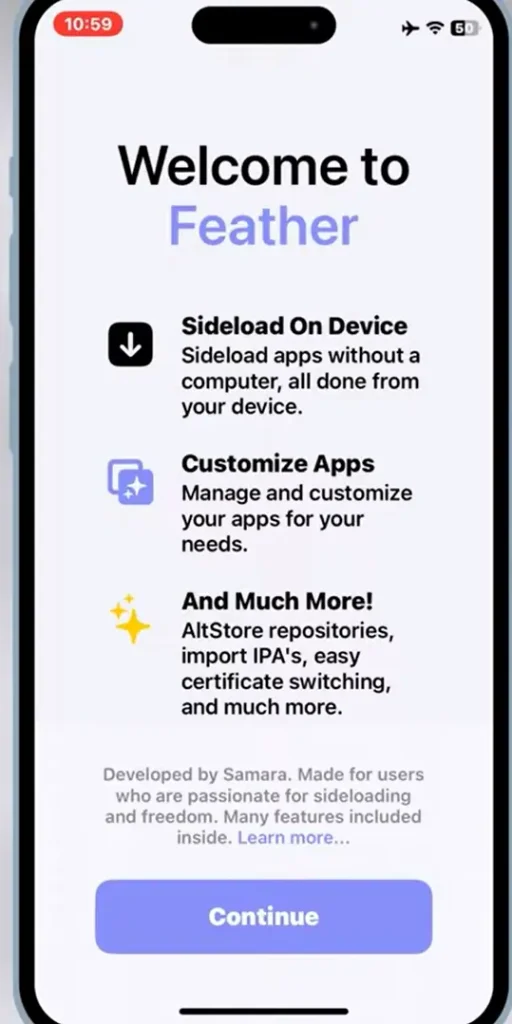
What Is the Feather App?
Feather App is a third-party iOS utility that allows you to install (or “sideload”) apps from alternative app stores. It digitally signs IPA files (iOS app packages) using valid certificates, ensuring that your iPhone or iPad recognizes these custom apps as secure and allowing you to install them without jailbreaking your device.
- Key Benefit: By using the Feather App, users can install modded or region-locked applications without violating the security restrictions of Apple.
- How It Works: The app provides a user-friendly graphical interface that lets you import certificates, enter passwords, and manage provisioning profiles—essential steps in the app installation process.
What Is DNS?
DNS (Domain Name System), often called the phone book of the internet, is a system that resolves domain names into IP addresses. When you type a website name, such as scarletapps.com, into your browser, DNS converts the domain into its corresponding server’s IP address. This process lets your device connect to the correct website or online service.
Why It Matters for iOS Users:
- For iOS users, the DNS service you choose can significantly affect download speeds and security. Some DNS services block ads and insecure sites, while others route traffic uniquely. If you’re installing a non-App Store (external) app, selecting the proper DNS can improve your download experience and help protect your device.
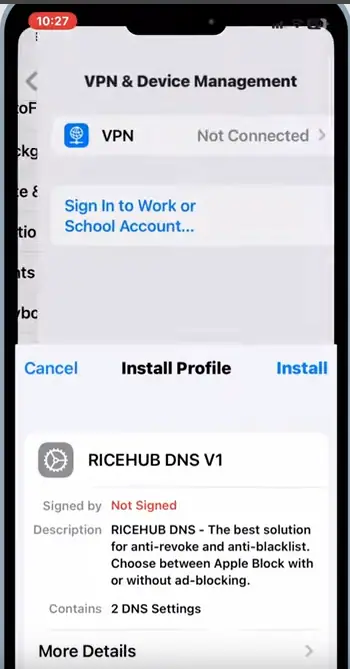
What Is RICEHUB DNS?
RICEHUB DNS is a custom DNS service designed for users looking for a smoother and faster experience when sideloading iOS apps. Compared to standard DNS services, it offers faster resolution times and fewer restrictions.
Key Feature: This DNS is optimized for third-party app downloads, reducing errors such as “App integrity could not be verified.”
How to Use It: Typically, you install a profile on your iPhone or iPad that automatically switches your DNS settings to RICEHUB DNS. Once enabled, it streamlines the process of installing custom apps, including those managed by the Feather app.
Note: If you’re concerned about your device’s security and privacy, consider using a VPN on your iPhone and iPad.
How to Download and Install Esign iOS on iPhone & iPad
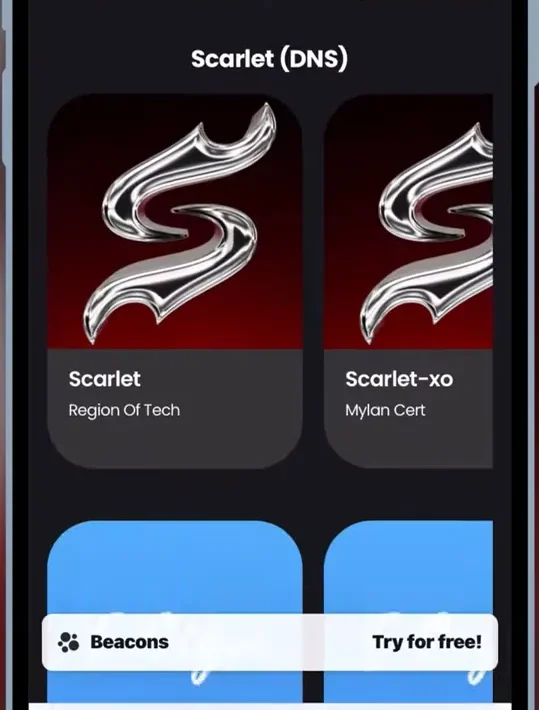
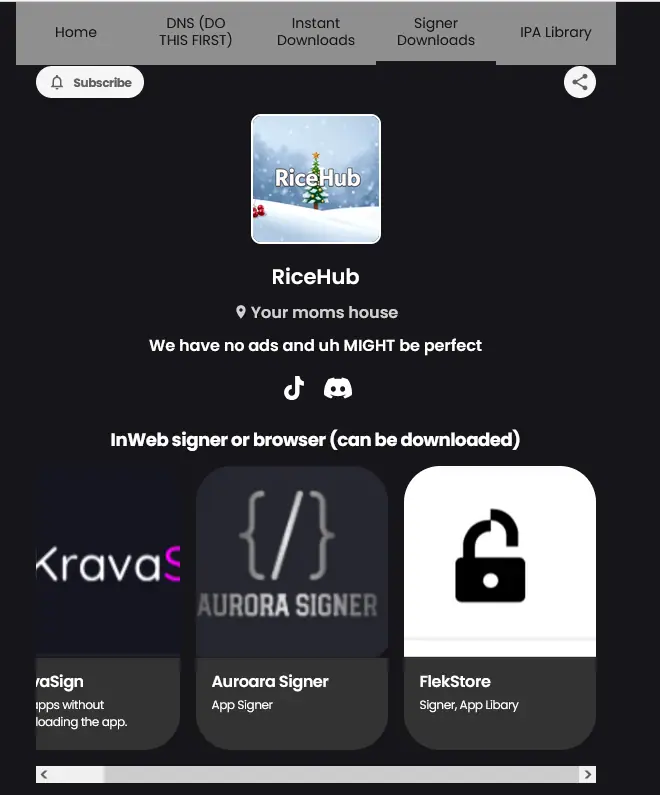
Step 1: First, open this website: https://beacons.ai/vietnamesericelord. Then, click on the DNS button at the top. After that, select RICEHUB DNS. Once you click on it, you will be redirected to the download page. Simply allow the profile to download.
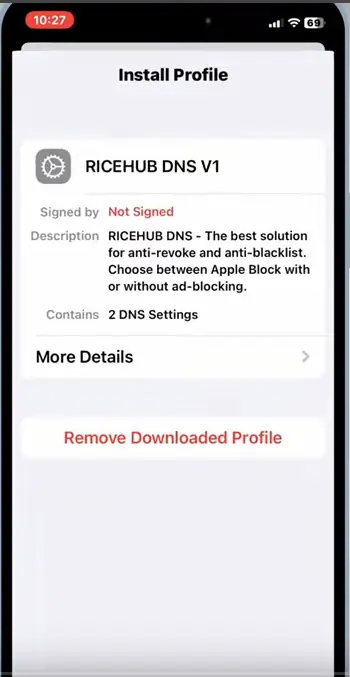
Step 2: Now, open the Settings app on your iPhone or iPad. Click on Downloaded Profile and install it.

How to Fix Errors When Installing eSign on iOS
Many users face common errors like “App integrity could not be verified” or “Installation blocked” while trying to install eSign IPA. Here’s an alternative method to install eSign without any issues.
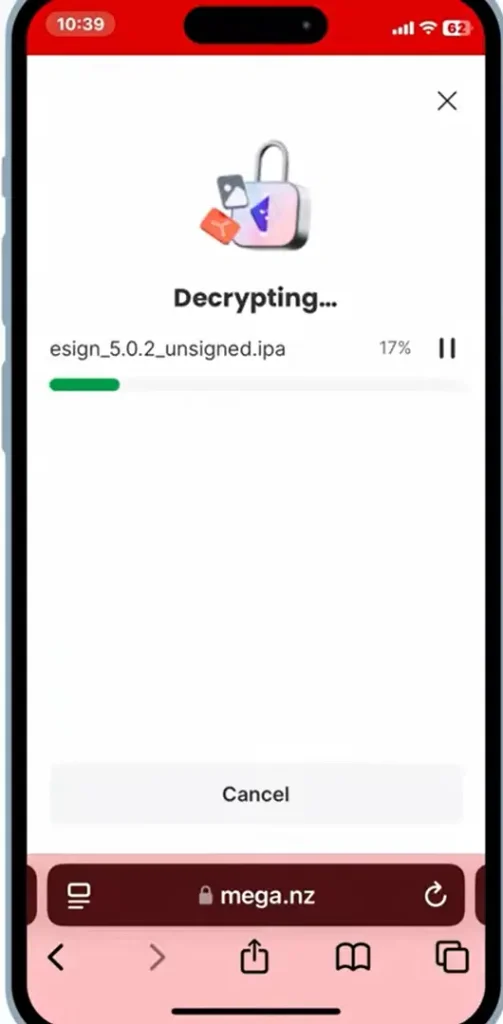
Download the Esign IPA File: Use this link to download the Esign IPA file: https://beacons.ai/vietnamesericelord and Download IPA File
Open the Website: Revisit the website you were using earlier and click on Signer Downloader. When the page loads, click on any of the download links for eSign. If one link doesn’t work, try another.
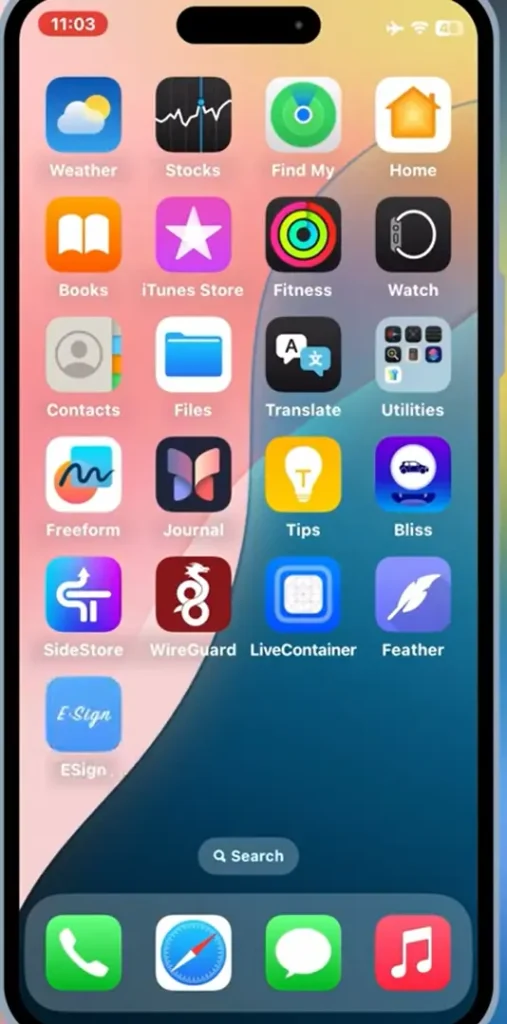
Install eSign: After downloading the file, open it to install the eSign app on your iOS device. This method ensures a smooth installation process without errors.
Complete App Configuration for Smooth Functionality: Once the app is installed on your device, navigate to the General Settings section. From there, go to VPN and Device Management, open the Enterprise App, and select Trust app. If you are using the iOS 18 version of the app, restart your device after following these steps. However, before restarting, make sure to enable Airplane Mode. After restarting, you’ll notice that the Feather app is functioning properly.

Keep in mind, the process isn’t fully complete yet—there are additional steps to ensure everything works properly.
Reopen the Website and Configure the Certificate: Reopen the website and go to the Signer Downloads section. Download the same certificate you downloaded earlier while setting up the Feather app. Once the certificate is downloaded, open it and extract the files. You will see a new folder containing three files. Among these, there will be a file named Password. Open it and copy the password from that file.

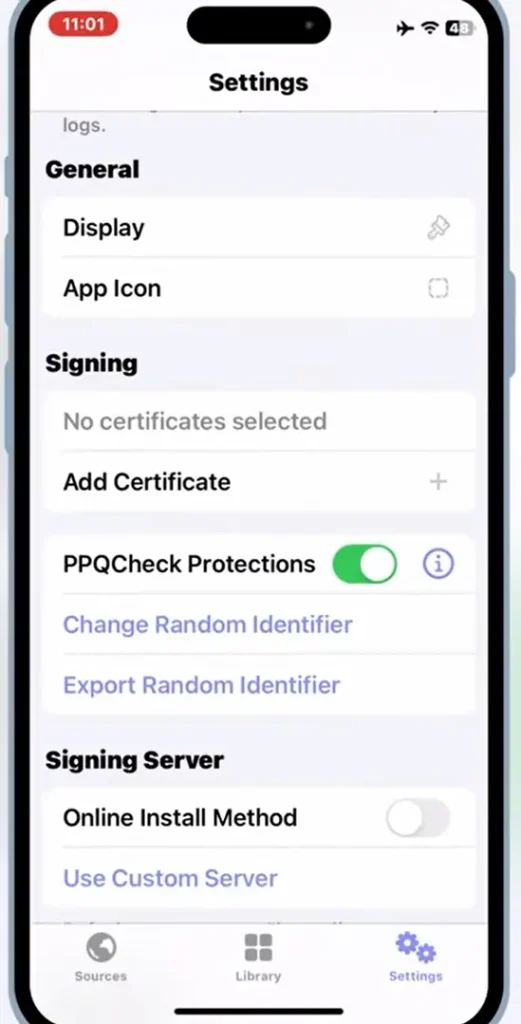
Step 6: Add the Certificate
- Open the Feather app and go to the settings.
- Scroll down and click on Add Certificate. Then, click Add Certificate again.
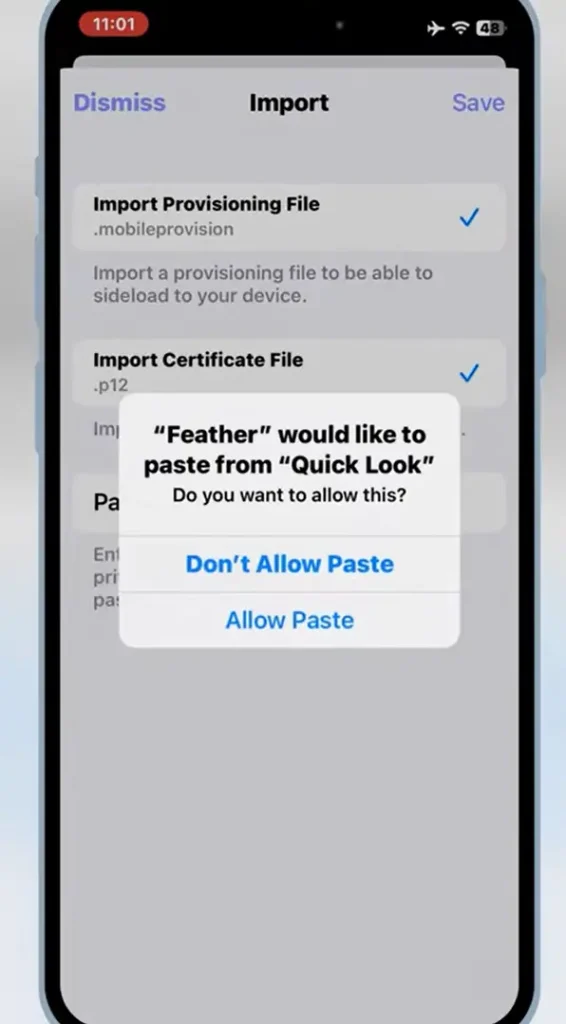
- Next, select Import Certificate File and upload the .p12 certificate file.
- After that, click on Import Provisioning File and select the file from your downloads folder.
- Paste the password you copied earlier into the password field and save the settings.
Simplified IPA File Installation Guide: Some users might still face issues sideloading IPA files using the Feather app. Here’s how you can install them step by step:
- Open the app.
- Click on the Import File option.
- Select the IPA file you want to install.
- After successfully importing the file, tap on the imported file.
- Click on Sign and then hit Start Signing.
- Once the file is signed, tap on the signed IPA file.
- Click Install and confirm by tapping Install again.
Follow these steps carefully. If the IPA file installs and works as expected, you’re all set. However, if you encounter any errors, proceed to the next method for troubleshooting.
Steps to Successfully Install IPA Files Using eSign
I’m confident this method will work as it has worked for me most of the time. Follow these steps:
- Open the eSign app and click the Import button.
- Select the IPA file you downloaded earlier.
- Once imported, click on it and select Install eSign to start the signing process.
- After signing is completed, click Install and confirm installation.
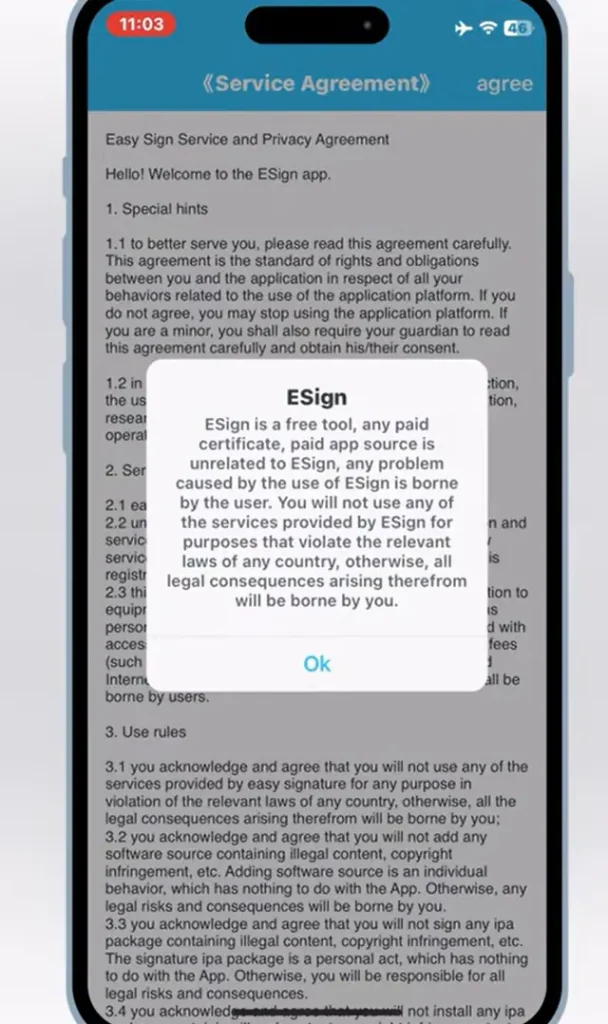
- Once installed, open the app and tap OK on the popup, then Agree to proceed.
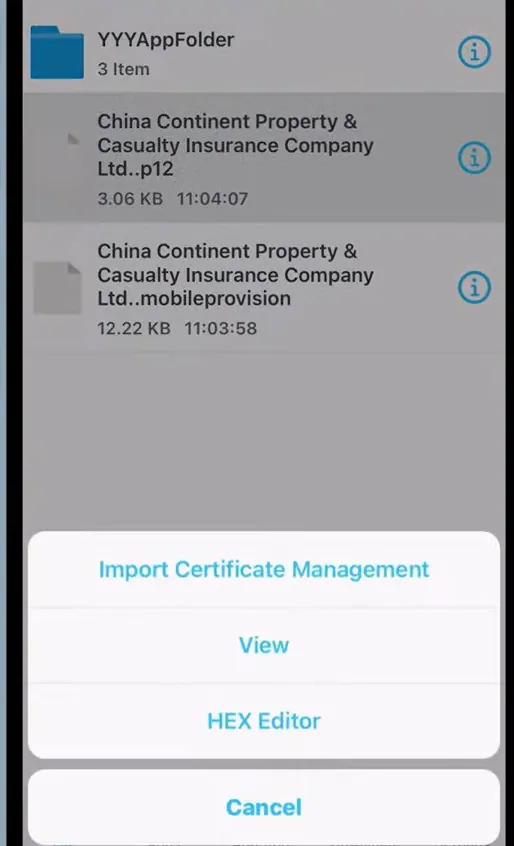
- Click the three dots in the top-right corner and select Import from the dropdown menu.
- Choose both the .p12 certificate and provisioning file from the Download Certificate folder.
- First, click the .p12 certificate, then hit Import Certificate and Management. Enter the password used earlier and press OK.
- Next, click the mobile provisioning file and hit Import.
- To install the IPA file, click the three dots, select Import File, and choose the IPA file.
- Once the Imported Successfully message appears, select the imported file, then click Signature and confirm Signature again to start signing.
- Do not click Install yet. Instead, go to App Settings > WiFi > LAN Address and click Copy Link.
- Open Safari, paste the copied address, and press Go.
- Select your IPA file and hit Install. Confirm installation again to finalize the process.
Congratulations! You’ve resolved all the errors related to eSign and IPA installation.
Troubleshooting Common Errors
- Error: “App integrity could not be verified”
- Solution: If you face this error, ensure you have correctly installed the enterprise profile and trusted the Certificate in Settings > VPN & Device Management.
- Error: “Installation Blocked”
- Solution: This error often occurs when installing eSign. To resolve it, try downloading the eSign IPA file using the provided link again. Additionally, verify that the certificate and provisioning profile have been imported correctly.
General Tips:
These tips can help resolve common Esign errors:
- Restart your iPhone or iPad after making any necessary changes to settings.
- Temporarily disable Airplane Mode if you encounter network issues during installation.
FAQs
Why is this process necessary?
Due to tight privacy and security of Apple it requires apps to be digitally signed before installation.
Is it safe to use Esign?
While Esign simplifies installing unofficial apps on iOS devices, security risks may be associated with downloading apps from unofficial sources. Therefore, only download IPA files from trusted alternative app stores. Following these safety tips can help you access third-party apps more securely.
Conclusion
Following this guide, you can install eSign iOS on your iPhone or iPad without jailbreaking—even on the latest iOS models. However, please remember that accessing or installing applications from external repositories always carries some security risks. To minimize these risks, always verify the credibility of third-party resources before installing applications from such repositories. Also, follow some security tips while accessing apps from such resources.
Further Reading
- Apple’s Code Signing Guide: This guide provides a detailed walkthrough of the code signing process, covering essential best practices, the role of required certificates, and effective solutions for common issues.
- Reddit’s r/jailbreak: This community forum features real-world user experiences, detailed troubleshooting tips, and active discussions about sideloading apps and jailbreaking.

Jason Mitchell is an iOS security researcher and app development expert. He specializes in app sideloading, mobile security risks, and Apple’s evolving policies on third-party software. His goal is to educate users on safe and effective sideloading practices while keeping them informed about Apple’s latest regulations.
Jason Mitchell is an iOS security researcher and app development expert. He specializes in app sideloading, mobile security risks, and Apple’s evolving policies on third-party software. His goal is to educate users on safe and effective sideloading practices while keeping them informed about Apple’s latest regulations.
